How to Replace Your Screen Printing Screen In Five Easy Steps
Disclaimer: This post contains affiliate links. if you use these links to buy something I may earn a small commission at no additional cost to you. Thanks.
When I first started screen printing I thought that I had to buy a new frame every time I needed to create a new design. I was slowly but surely amassing a pile of frames in my studio. It was about a 50/50 split of designs I was consistently using, and designs that were custom made for an event, or season that I no longer printed with. I needed a solution to the clutter and lo and behold there was one! When I discovered that you can reuse the wooden frame and simply replace the screen I was DELIGHTED! Now I have ONE little binder of all my old designs instead of a growing stack of frames in the corner of my studio. I was nervous to try it, worried that I would break the frame or mess up the screen thus creating horrible prints and waste and AAAHHH….you know, the usual kind of spiral before you try something new. But let me tell you, this is the easiest, and quite honestly fun, maintenance task I do in my studio. In this post I will break down how easy it is to replace your screens, and what supplies you need. If you want a step-by-step and all my helpful tips and tricks on how to use screen print in general you can read all about it in my other post here.
Now why might you want to replace your own screens? It is helpful because:
1) Helps save space in your studio/work area.
2) Is cheaper since you only need to buy screen material, instead of the whole frame.
3) Helps archive old designs for later use.
4) Allows you to replace torn/busted screens.
5) Allows you to fix any looseness in a screen for cleaner prints.
And let me assure you again, it may sound like a daunting task. You may find yourself making excuses to put it off, but it is truly SO EASY! You can have a ready to go screen in ten minutes or less, all you gotta do is get your supplies and follow these five easy steps!
SUPPLIES
Good news, the supply list is real simple, and most of it you will probably already have in your home. All you will need is:
- The screen and frame you are wanting to replace
- Speedball Replacement Screen and Cord
- Needle nose pliers or a flat head screw driver
- Thumbtacks
I used Speedball’s precut mesh kit which also comes with cord. This only works for 11x14” frame sizes, if you have a larger size you will need to get a roll of it and some cord and cut out a sheet yourself, you can find the roll here and the cord here.
TIP: you can reuse the cord that is already in your screen frame if it is still in good shape.
STEP-BY-STEP PROCESS
STEP 1:
Using your pliers or screwdriver pull up one end of the cord that is in the groove of the back of your frame. Once you have enough out to grab, you can use your hand to pull the remainder of the cord out. (So satisfying).
STEP 2:
Now that your cord is out you can pull away your screen, if you had a design with screen filler on the borders or old ink that is crusted on the sides of the frame the screen might be stuck, so just pull gently so that you don’t rip it. This is only if you plan to archive or reuse the design again down the road, if you are going to throw it out than by all means, rip away!
STEP 3:
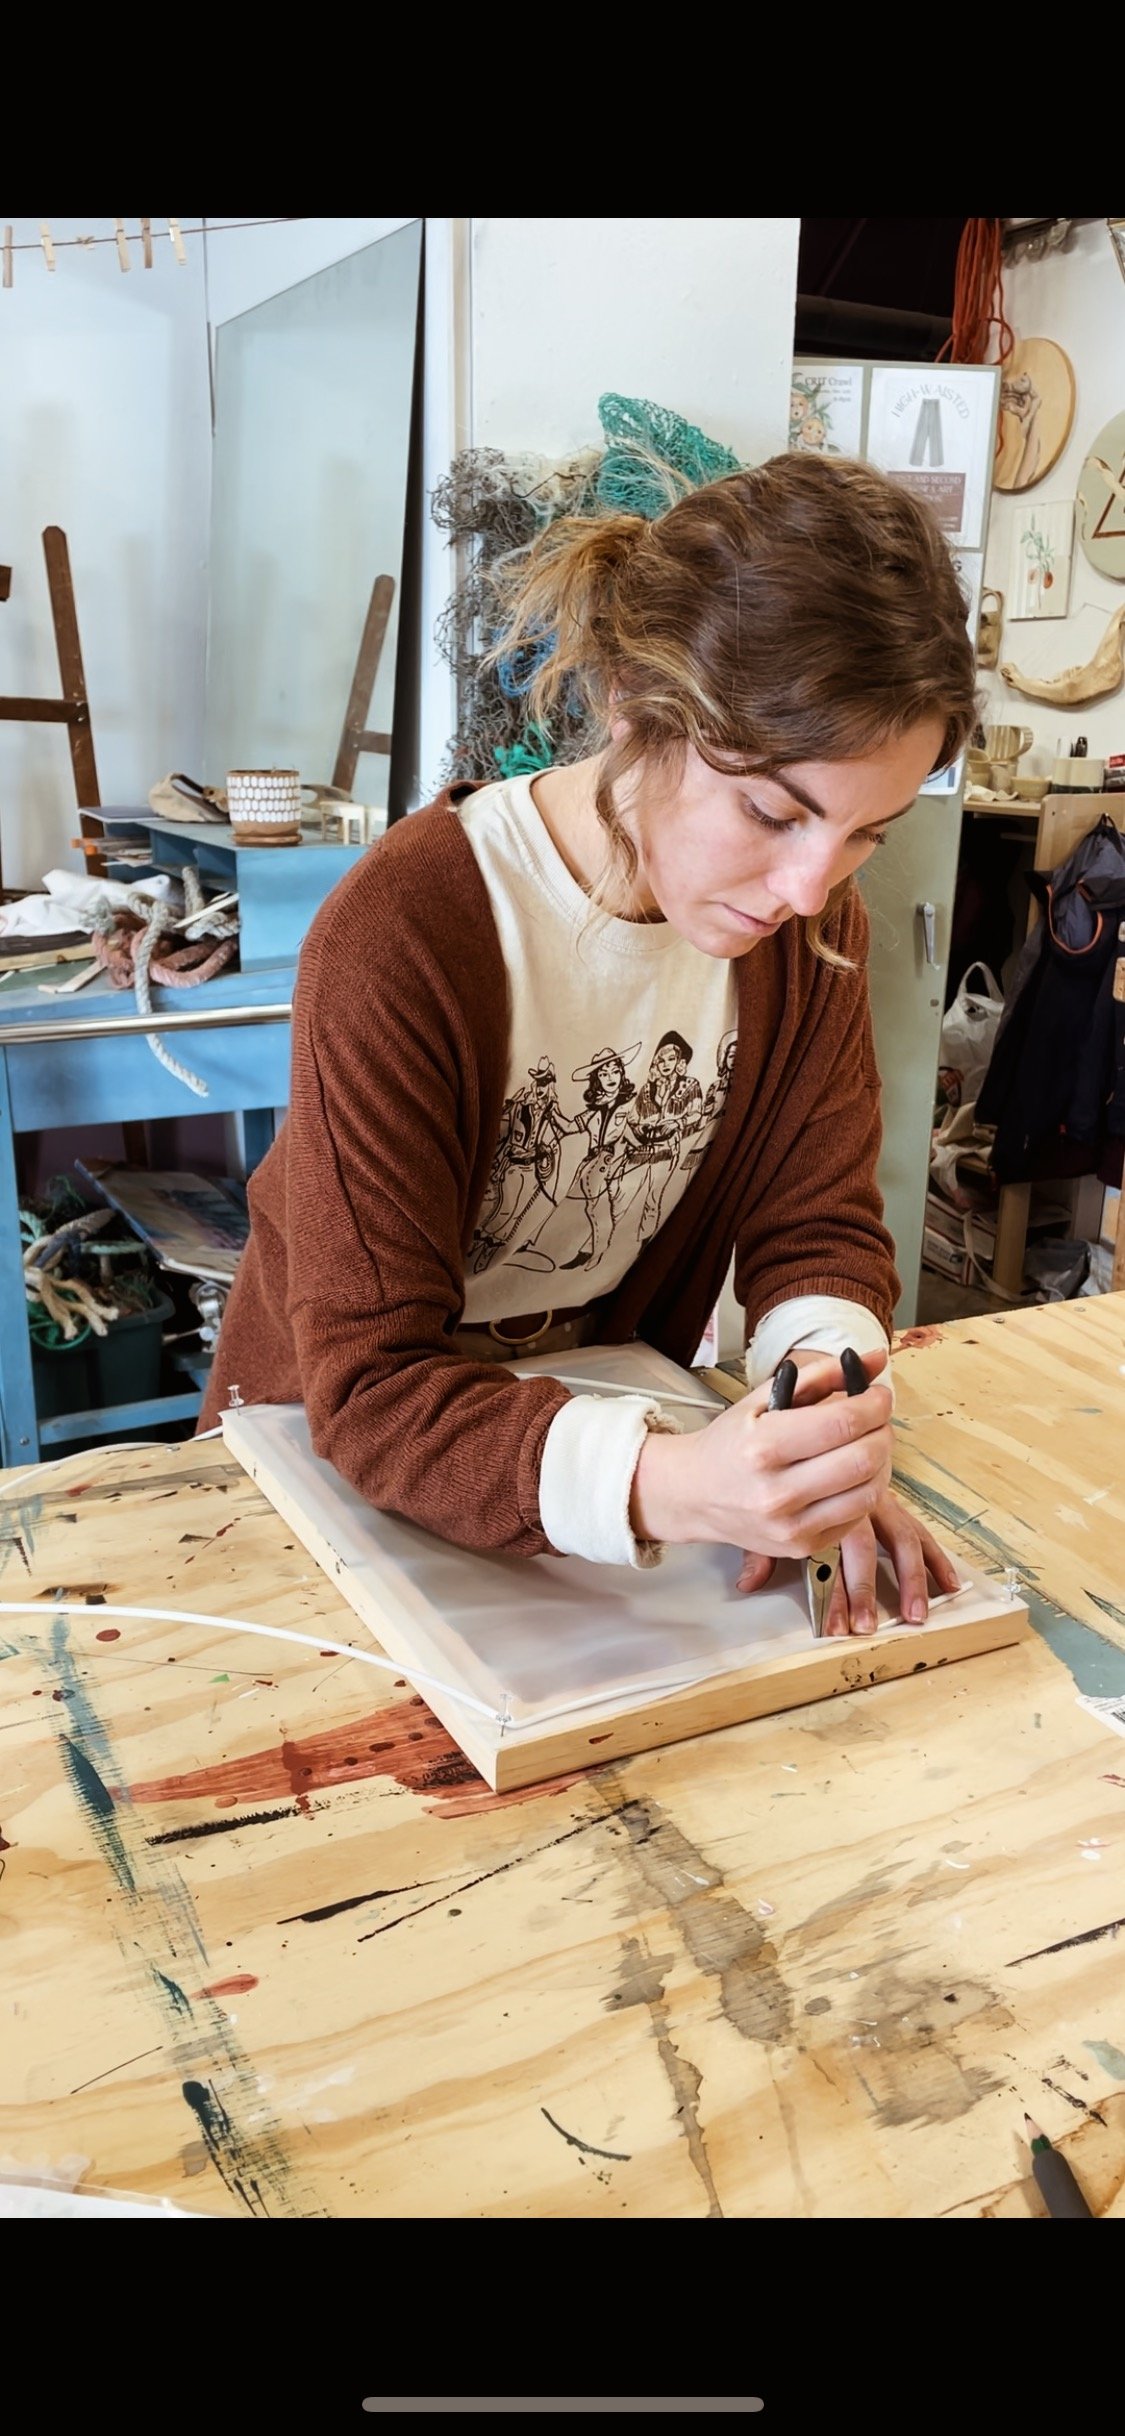
Pull out one of the sheets of screen from the package and place it on your frame. Thumbtack the corners down loosely, you don’t need to worry about making the screen taught at this point. This step is just to make your life easier by keeping the screen in its spot when you put the cord in.
STEP 4:
Grab either your old cord or the new cord from your kit. If you grab the one from the kit use your old cord as a measurement to cut the length for the new one. Now, with your needle nose pliers closed or with your screwdriver begin to press the cord into the groove. You don’t need to press it all the way down yet, just enough to where it starts to hold the screen in. Do this all the way around. You may start to notice some areas aren’t as taught as others and begin to freak out (as I did the first time around) but DEEP BREATH! As you continue to go back around pushing the cord down further and further the screen will start to tighten more evenly, you’re looking for it to be stretched out like a drum. Give it a good rat-a-tat-tat to make sure.
STEP 5:
This step is important: ADMIRE YOUR WORK! You did it! You took ownership of your screen printing process and you now have a ready to use, freshly lined screen for creating your wildest dreams. I’m so proud of you.
I hope this step by step breakdown helps give you the tools, the knowledge, and the confidence to replace your screens so that you can keep creating sick art and prints! If you are more of a visual learner I have a short reel tutorial from my instagram, you can watch it HERE. I often share my process and tutorial videos, if that’s your cup of tea be sure to follow me for all the art goodies. If you have any questions, comments, concerns or jokes let me know in the comment section below.
Stay Wild my friends,


